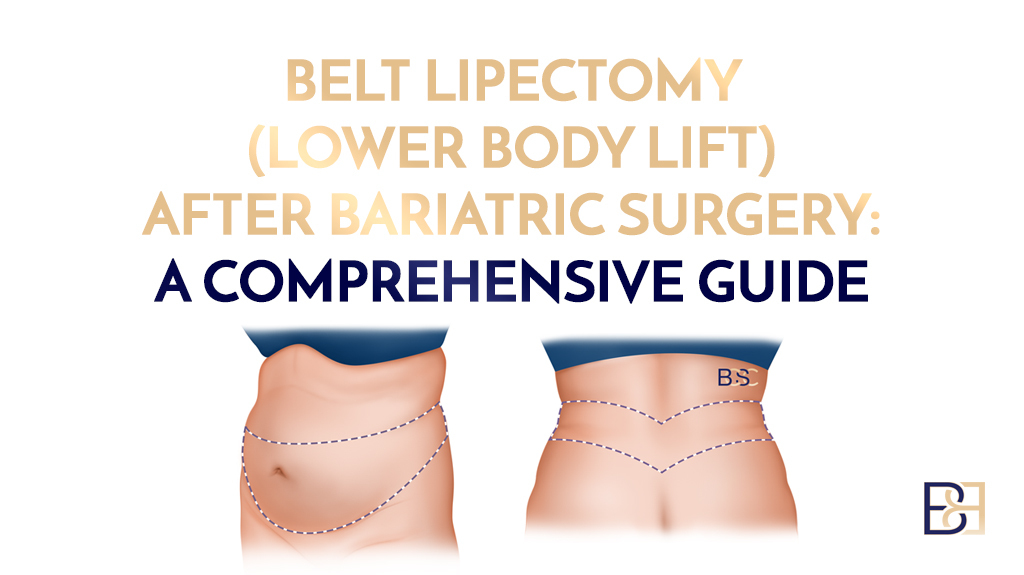
After substantial weight loss, it’s normal to have loose skin on the hips, lower back, and buttocks, as well as the abdomen.
A belt lipectomy is a 360-degree surgery that tightens loose skin on the abdomen, flanks, and lower back. It also has a buttock, mons, and thigh-lifting effect. This article demonstrates how Dr. Bernard Beldholm performs this procedure, step-by-step.
Download our short guide: “Preparing for your Abdominoplasty Surgery Checklist”

What is a Belt Lipectomy?
The goal of a 360-degree belt lipectomy is to remove loose skin on your abdomen, sides, and back. As the skin on the midsection tightens, it lifts the buttocks, thighs, and mons pubis area as well.
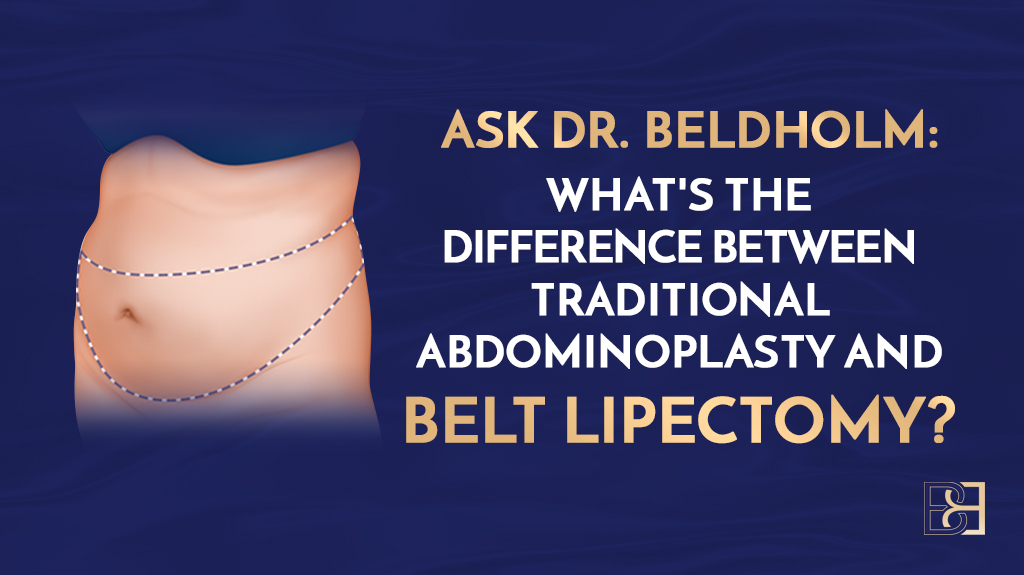
Like three operations in one, a belt lipectomy includes an extended abdominoplasty (tummy tuck), lateral thigh lift (thighplasty), and gluteoplasty (buttocks lift). Since multiple body parts are involved, the surgery is quite complex. Though recovery is more complicated than a standard abdominoplasty (tummy tuck), the results are substantial.
During the surgery, abdominal muscle separation, which is relatively common among patients after major weight loss or pregnancy, can also be corrected.
Operation Guide: What Happens During a Belt Lipectomy?
Dr. Bernard’s belt lipectomy firms and tightens the midsection. This is a step-by-step guide to belt lipectomy surgery with VASER Suction-Assisted Lipectomy (liposuction).
Phase 1: Surgery Prep
Pre-operative appointment
On the day of surgery, the patient will enter the hospital, meet with a nurse, and change into a gown. Doctor Bernard meets with each patient before surgery to answer any last-minute questions or concerns.
Surgical markings
Before surgery, Doctor Bernard draws on the skin with a surgical marker while the patient is standing. That is important because when you lie down on the operating table, the skin and fat shift due to the effects of gravity.

The markings, which help to plan the operation, are drawn while the patient is awake, allowing both the patient and the surgeon to see where the incisions will be before the patient is sedated. Doctor Bernard works with the patient to make sure the surgical scars are placed in the optimal position. Patients are advised to bring their swimsuit or undergarments to their appointment to ensure scars will be well-hidden.
General anaesthesia
Upon entrance to the operating room, a highly trained anaesthetist administers a sedative to induce sleepiness, leaving patients with no memory or sensation of the surgery.
During the surgery, the anaesthetist keeps a close eye on the patient’s vitals, ensuring they are closely monitored from the moment they fall asleep until the moment they are brought out of sedation.
Phase 2: Buttocks and Thigh Lifting
Positioning on the operating table
Once sedated, the surgery begins. The first step to a successful belt lipectomy is positioning the body on the operating table. Doctor Bernard works on the lower back and buttocks first, with the patient positioned face down, with the head cradled in a foam block with an opening.

Using a special operating table, known as a Jackson table, Dr Bernard will turn the body over when he is ready to work on the abdominal area.
VASER Suction-Assisted Lipectomy (liposuction) on your lower back and buttocks
Next, Doctor Bernard performs Suction-Assisted Lipectomy (liposuction) on the lower back and buttocks. Instead of traditional liposuction, Doctor Bernard uses special equipment called VASER, a cutting-edge technology that breaks fat cells apart with ultrasound energy. It liquefies fat, making it easier to remove.
VASER is a three-step process.
The wetting solution is injected.
First, Doctor Bernard injects a wetting solution, consisting of a local anesthetic with a numbing effect, into the tissue. The wetting solution not only helps to isolate the fat cells but also constricts the blood vessels, reducing bleeding. The local anaesthetic provides pain relief for the first night and the next morning.

In traditional liposuction, the fat is removed manually in an aggressive back-and-forth motion. VASER is much less aggressive, reducing trauma to tissue.
Fat removal
Once the fat is melted, Doctor Bernard removes it with machine-assisted suction. In traditional liposuction, a surgeon would need to remove solid masses of fat through a small cannula. VASER liquefies the fat cells, making suction all that is necessary to remove them.

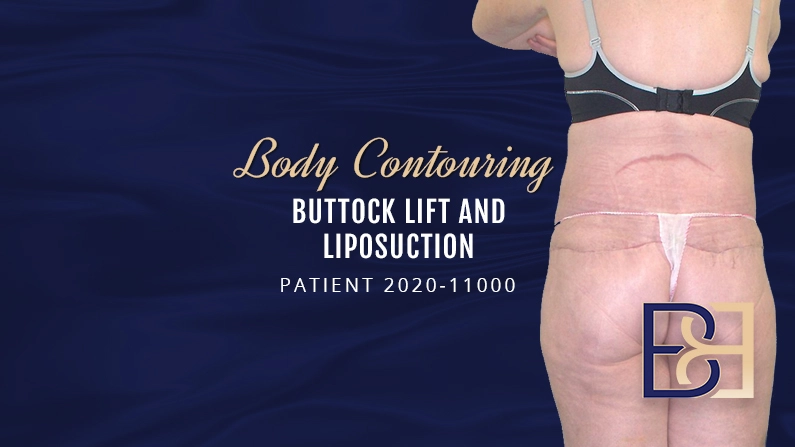
Tightening loose skin on your lower back, buttocks, and thighs
To simplify cutting, Doctor Bernard pre-loosens the skin using the VASER tool. By removing just the right amount of skin, Doctor Bernard works on one area at a time, making sure to cut nice, straight lines. This results in a neat, straight scar.

Sealing the blood vessels
As he cuts away the excess skin, he seals up each blood vessel as he goes. Closing each blood vessel can be time-consuming, but it is essential for maintaining patient safety. Doctor Bernard’s goal is to minimise the risk of bleeding after surgery. Sealing the blood vessels may also reduce bruising and post-op complications.

Closing the back incision
Once the loose skin on the lower back is removed, the next step is to close the incision. As the skin is pulled together and stitched closed, it will tighten and lift the buttocks and outer thighs.

As he closes the incision, Dr Bernard sprays on a medical-grade glue to keep the tissues tightly sealed as they heal. Creating a tight seal with glue reduces fluid buildup at the wound site and minimizes bruising during the healing process.
Download our infographic: “15 Exercises to Try After Abdominoplasty”
Phase 3: Patient is Turned
Once the backside is complete, it’s time to remove loose skin on the abdomen. This requires the patient to be turned over on the operating table, which must be done carefully. Doctor Bernard and his staff turn the patient with the help of special equipment known as a Jackson table.
Phase 4: Extended Abdominoplasty with Suction-Assisted Lipectomy (Liposuction)
During this step, Doctor Bernard tightens the loose skin on the abdomen and sides using a technique similar to the one used on the back.
VASER Suction-Assisted Lipectomy (Liposuction) of the Abdomen and Hips
Doctor Bernard repeats all three steps of VASER liposuction, removing excess fat, shaping curves, and highlighting muscles.
Abdominal incision
Next, he makes a horizontal cut on the lower abdomen. The incision may extend up and around your hips, depending on how much loose skin needs to be removed.
Creating the epigastric tunnel
Starting from the incision, Doctor Bernard cuts upward, stopping at the umbilicus (belly button). Traditional abdominoplasty surgeries involved dissecting up to the ribs. Today, less cutting is necessary. Instead, an epigastric tunnel is created, which makes recovery easier since fewer nerves and blood vessels are damaged.
Belly button repositioning
If a large amount of loose skin is present, the belly button may need to be moved. Otherwise, it would be too low on the abdomen once your skin is pulled down to close the incision. If necessary, Doctor Bernard will adjust your belly button to a position that’s not obvious you had a tummy tuck.
He carefully cuts around your belly button to free it. He attaches a small plastic marker to your belly button with a 2/0 silk stitch. The plastic piece allows him to feel where your belly button is located once your skin is pulled down later. Feeling for the hard plastic bit, he can then create a new hole for your belly button.
Removing loose skin on the abdomen and sides
Doctor Bernard trims off the loose skin on the abdomen and sides. He carefully measures the amount of skin to remove before making any cuts. He may position the operating table on a slight tilt of about 15 degrees.
Dr Beldholm places a few Allis forceps (surgical clamp) at the lower tummy incision. Next, he will pull the upper abdominal skin downward so it overlaps the lower belly. He can feel the allis forceps underneath, so he knows exactly where to mark and cut the excess skin. Again, he seals each blood vessel as he goes to reduce bleeding.
Belly button repositioning
If necessary, the belly button will be moved. The goal is to move the belly button to a natural position. This prevents the navel from sitting too low on the abdomen now that the belly skin has been pulled downward.
He feels for the plastic bit he attached to your belly button earlier in the surgery. He creates a new hole for the belly button and pulls the original belly button through it.
Let’s talk about belly button aesthetics. It may be small, but it makes a big difference to cosmetic results. An oval or irregular belly button looks more natural than a round shape. A rounded belly button can also cause the skin to bunch and eventually close up. Doctor Bernard finds that creating an oval belly button usually prevents that from happening.
Doctor Bernard also removes a small cylinder of fat beneath the belly button with VASER liposuction, creating a natural dip in the belly button.
Closing the incision
Doctor Bernard closes the abdomen in layers using deep permanent sutures and V-Loc 90 barbed sutures, which are absorbable. Starting at the scarpa’s fascia, he works upward to the skin surface.
In addition to sutures, he applies ARTISS tissue glue. The glue creates a tight seal, reduces fluid buildup, and reinforces your stitches. For the first few months of recovery, the abdomen needs that extra support for proper healing.
He also places four dissolving sutures around the new belly button. The stitches are pulled taut and downward. This helps to bury your belly button scar so it cannot be seen.
Skin tightening and mons lift
It’s time to close the abdominal incision. As Doctor Bernard sutures the incision closed, it tightens the abdomen and lifts the mons area.
The mons pubis is a common trouble spot. It is located a few inches below the belly button. This fatty pad of tissue covers the pubic bone. Many patients may have a pronounced mons after pregnancy or weight loss. A belt lipectomy has a mons lifting effect.
Wound dressings
Wound dressings protect the incision as it heals. Bandages keep germs out and cushion your skin, preventing irritation. Although basic sterile bandages are effective, Doctor Bernard prefers the use of high-tech, battery-operated PICO negative pressure dressings to create constant pressure on the wound, promoting healing. By boosting blood circulation at the wound site, swelling is reduced.
PICO’s advanced inner layer is made of super-absorbent material with AIRLOCKTM technology. It helps to keep bacteria out and keeps your wound dry. Studies from the manufacturer show it prevents up to 99.9% of bacteria from reaching the wound. After surgery, PICO bandages are used for seven days.
Compression garments
The final step of surgery is to place a compression garment on the surgical area to reduce swelling, a normal response to surgery. They also reduce tension on the skin as it heals. Compression garments may also lower the risk of seroma, or fluid buildup, after surgery.
Doctor Bernard provides patients with a high-quality compression garment, free of charge.
The belt lipectomy is now complete.